How to Set Up Facebook Ads Conversion Tracking (Step-by-Step 2026)
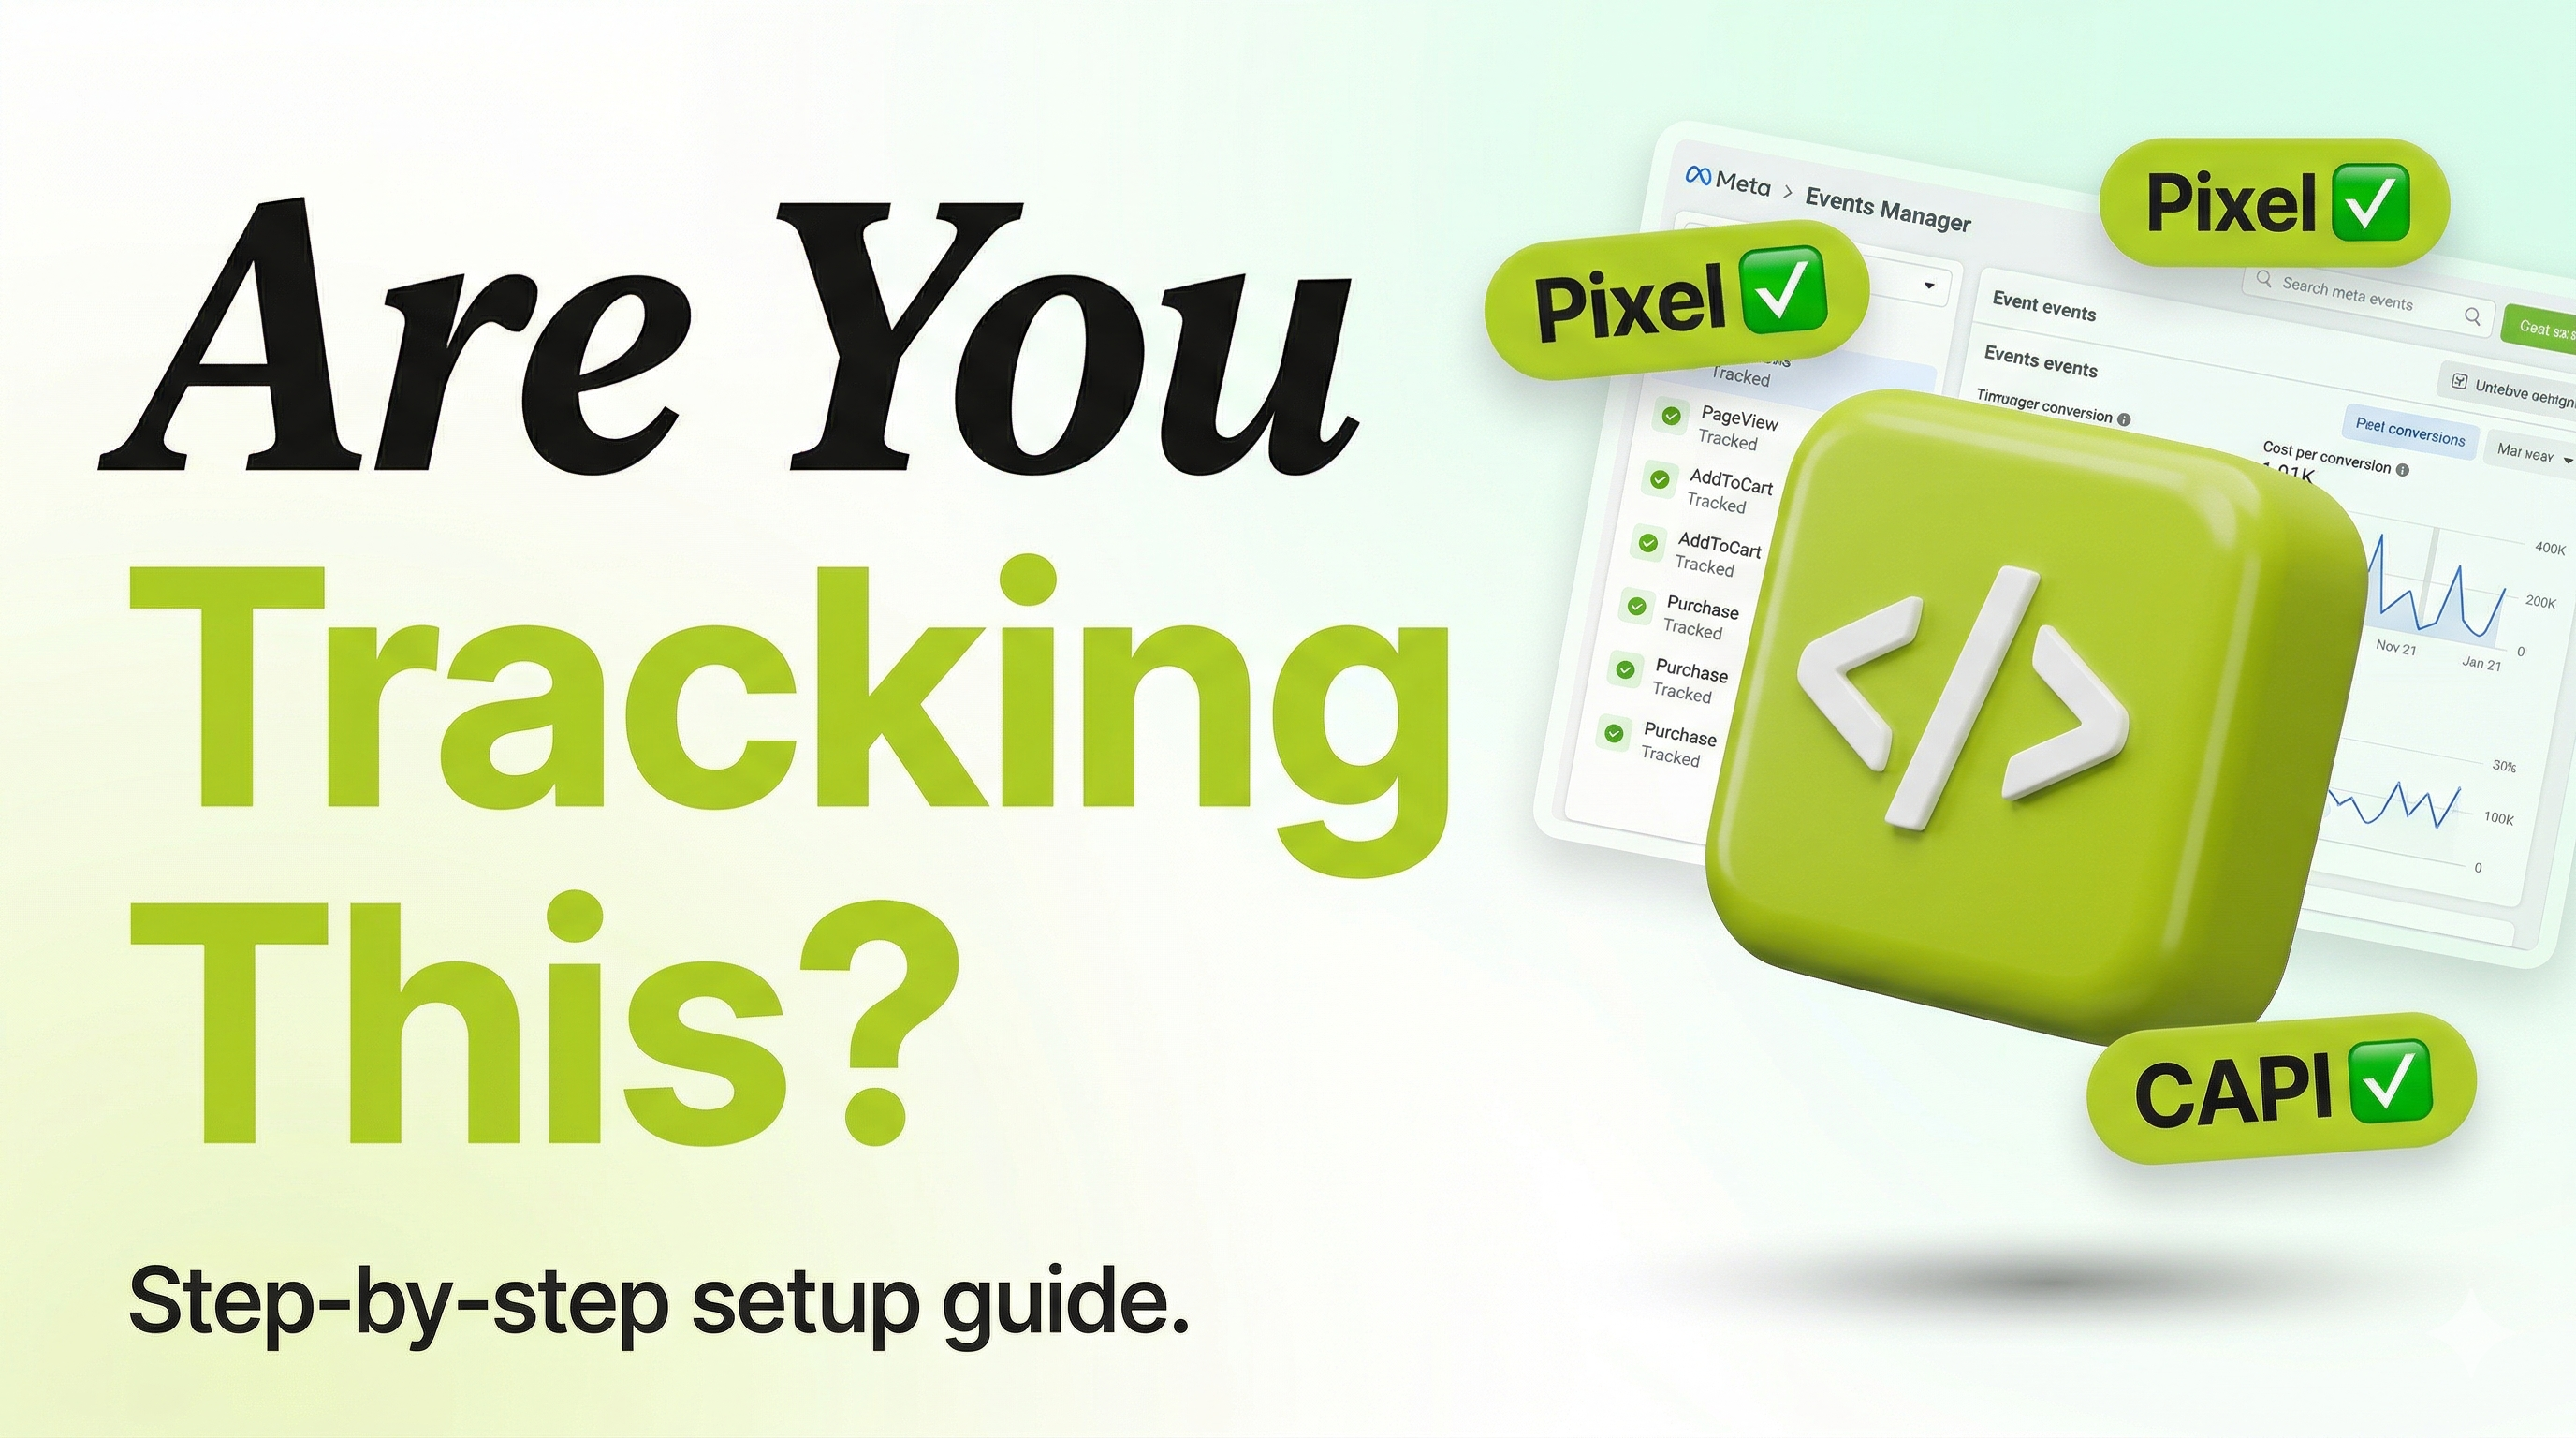
Conversion tracking is the foundation of every profitable Facebook Ads campaign. Without it, you are flying blind. You cannot tell which ads are generating sales, the algorithm cannot optimise toward buyers, and every scaling decision you make is based on guesswork.
Why conversion tracking matters more than ever in 2026
Meta Ads uses machine learning to find people who are most likely to complete a purchase. That machine learning only works when it has purchase data to learn from. After iOS 14, the Meta pixel alone now misses an estimated 15 to 40 percent of conversions from iOS users. The solution is the Conversions API.
The two components of proper Meta Ads conversion tracking
The Meta pixel: A JavaScript snippet installed on your website that fires events when users take specific actions, viewing a product, adding to cart, initiating checkout, and completing a purchase.
The Conversions API (CAPI): A server-side connection that sends conversion data directly from your server to Meta, bypassing the browser entirely. This captures conversions that the pixel misses due to ad blockers, iOS privacy settings, and browser-based tracking limitations.
How to set up conversion tracking for Shopify
Step 1: Install the Meta Sales Channel in your Shopify admin. This installs the pixel automatically.
Step 2: Enable the Conversions API within the Meta Sales Channel settings. Shopify handles the server-side connection automatically.
Step 3: Verify in Events Manager. Open Meta Business Suite, go to Events Manager, click Test Events and navigate through your store. You should see ViewContent, AddToCart, InitiateCheckout, and Purchase events firing in real time.
Step 4: Check for duplicates. Make sure you have the event ID configured in both the pixel and CAPI settings.
How to set up conversion tracking for WooCommerce
Step 1: Install the official Meta Pixel plugin from the WordPress plugin directory.
Step 2: Verify the purchase event fires on the order confirmation page using the Meta Pixel Helper browser extension.
Step 3: Configure event deduplication in the plugin settings.
Step 4: Test with the Events Manager Test Events tool.
Setting up your conversion event in Meta Ads Manager
Set your campaign objective to Sales. At the ad set level, select your pixel and choose Purchase as the conversion event. Set your attribution window to 7-day click and 1-day view. If you have fewer than 50 purchase events per month, use Add to Cart or Initiate Checkout as your optimisation event temporarily.
Common conversion tracking problems and how to fix them
Purchase events not firing: Check that the pixel is installed on the confirmation page. Use the Meta Pixel Helper Chrome extension.
Duplicate purchase events: Make sure you are passing a unique event ID in both the pixel and CAPI.
Purchase count in Meta does not match Shopify orders: This is normal and expected after iOS 14. The gap is typically 15 to 40 percent.
The bottom line
Correct conversion tracking is the single most important technical setup for profitable Meta Ads campaigns. Install both the pixel and the Conversions API, verify all events fire correctly, set your campaigns to optimise toward Purchase, and check your tracking every month.
If you are not sure whether your current conversion tracking is set up correctly, we include a full pixel and CAPI audit in our free Meta Ads account review. We are based in Oshawa, Ontario, working with ecommerce brands across Toronto and Canada. We also run Google Ads for ecommerce brands looking to scale on both platforms.